
| Features | Place to decorate | Assembling method | The Upgraded Parts |

Stress-free assembly with few tools required.Beautiful unpainted finish.
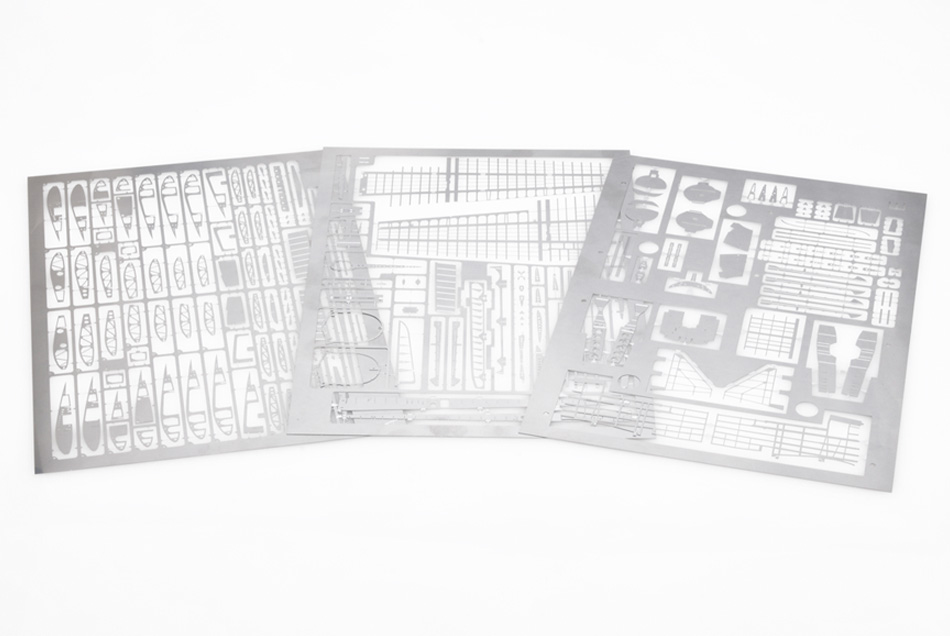
Our structure model uses real metal.
The materials themselves are authentic and the model takes advantage of the metallic feel.
You will have an excellent finish without painting, so we recommend keeping the model unpainted.
Assembly is as simple as building a plastic model.
Not many tools are needed. We sought for a simple design so that you can enjoy building your model at a happy pace.
Tool to be used
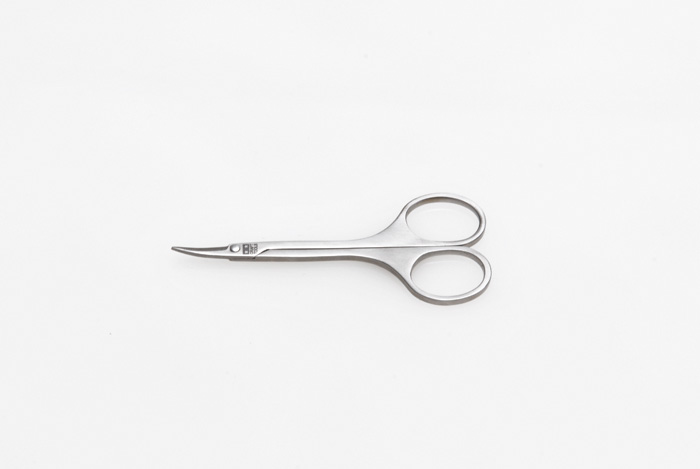 |
①Dedicated scissors etching |
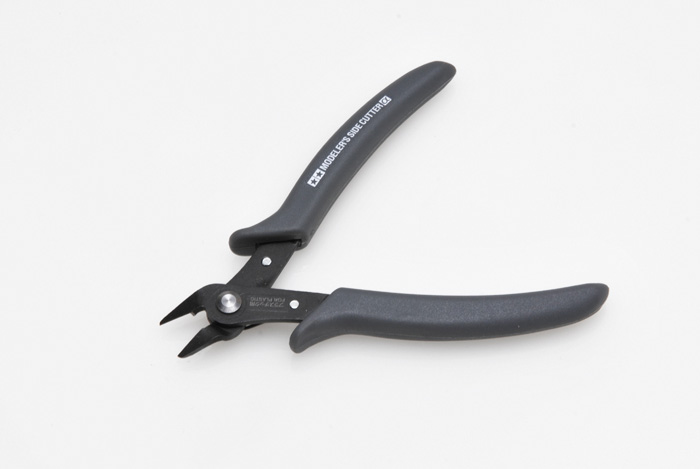 |
②Nipper |
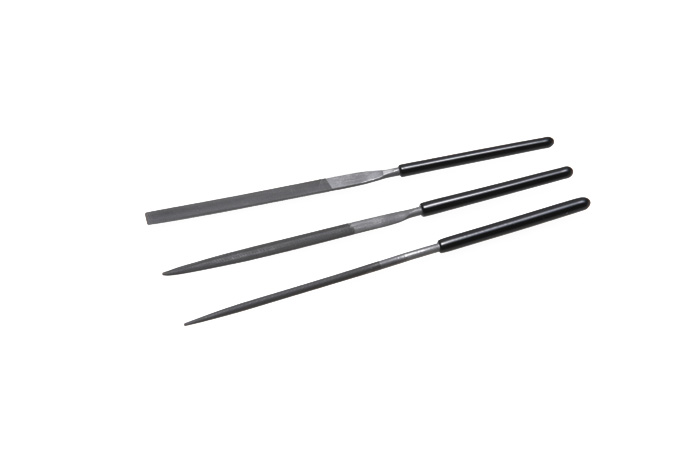 |
③File |
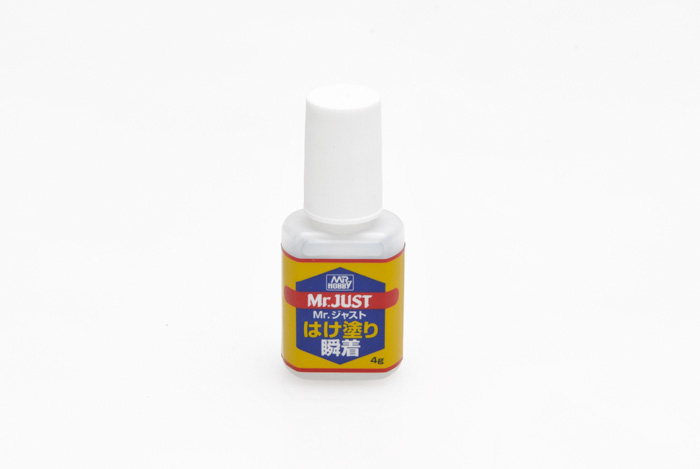 |
④Instant adhesive |
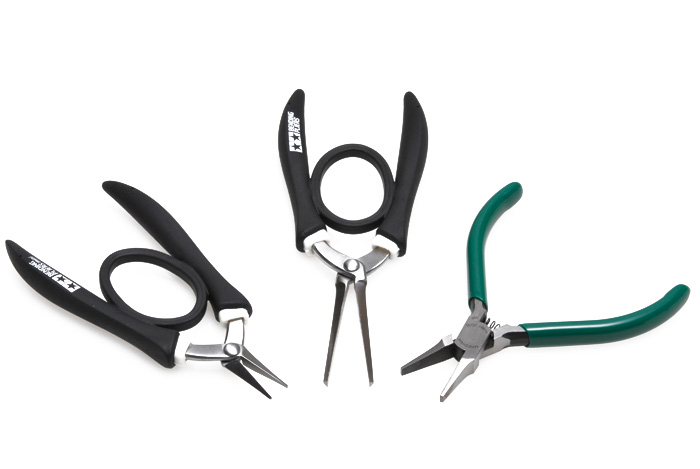 |
⑤needle nose pliers |
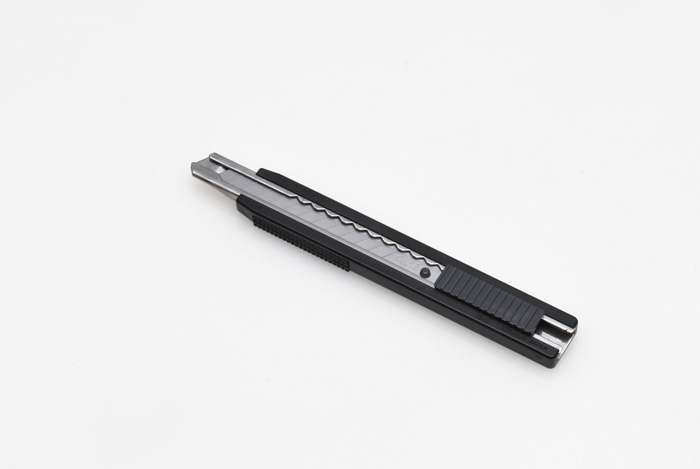 |
⑥Cutter |
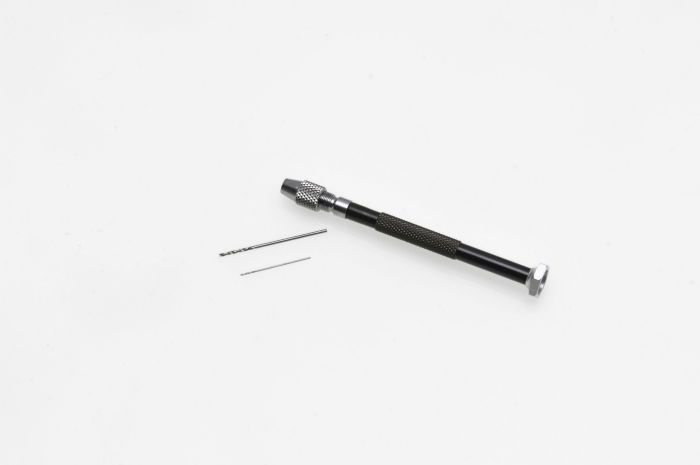 |
⑦Pin vice (φ1.0,φ0.5) |
 |
⑧Tweezers |
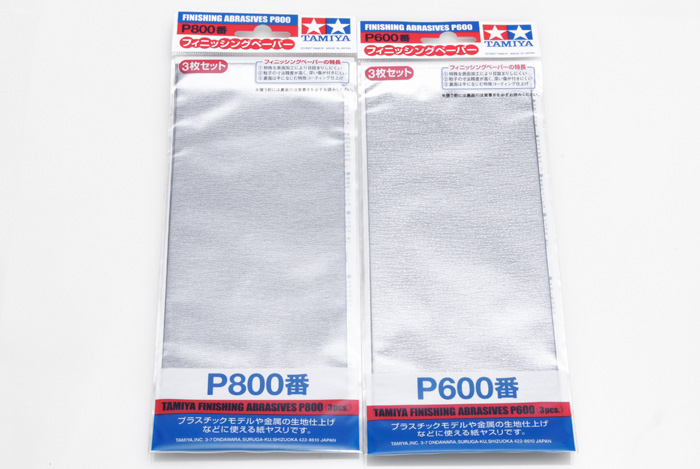 |
⑨Sandpaper #600 #800 |
Generally speaking, there are two types of parts.
1.Etching parts
2.White metal parts
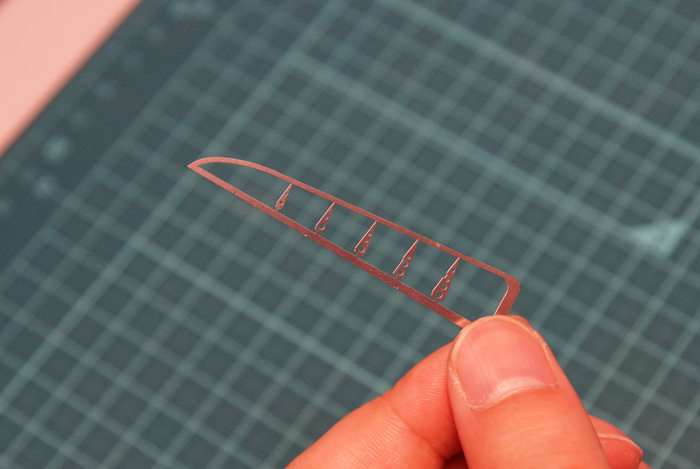
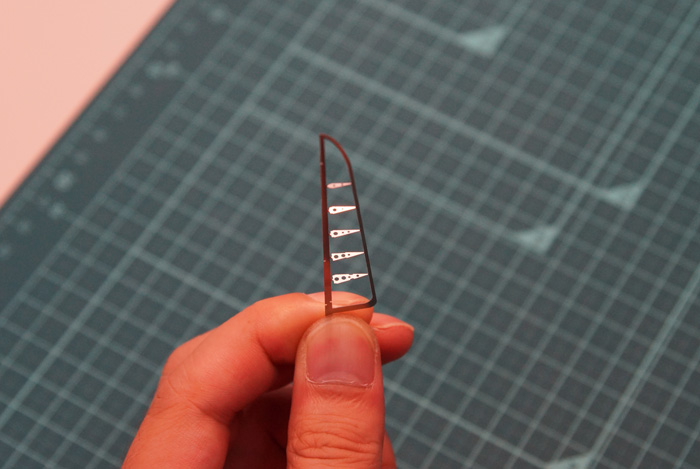
How to handle photo etched parts.
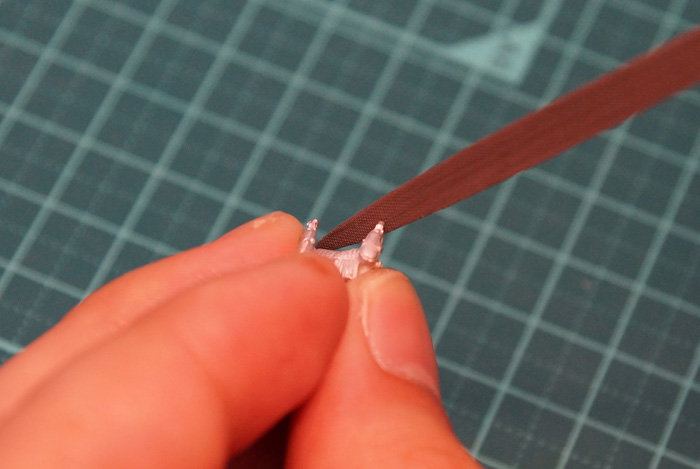
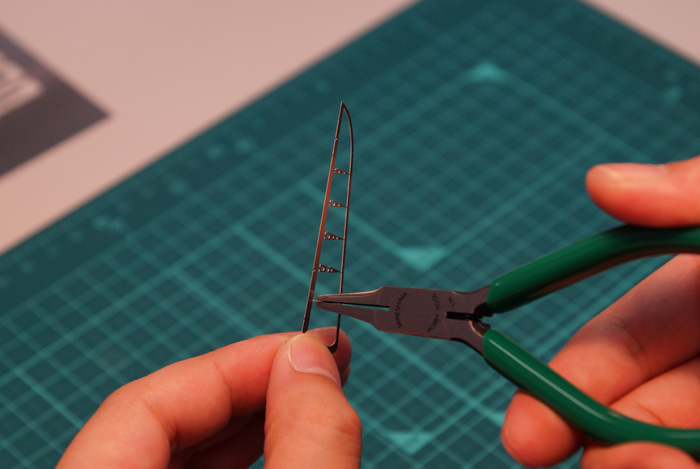
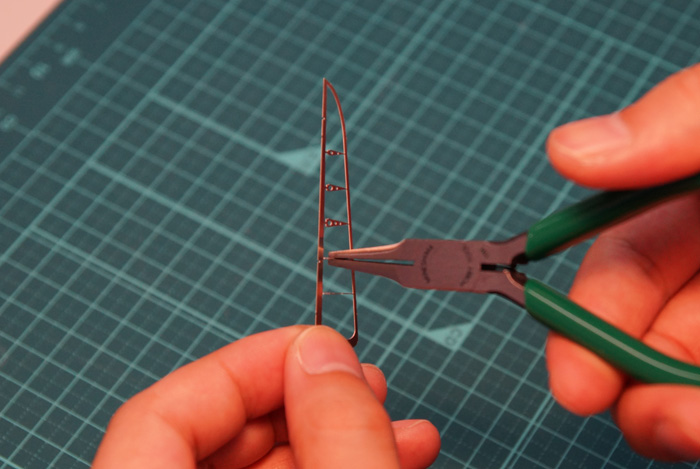
First remove etched parts from the fret in the same way as a plastic model. Then file off the tabs.
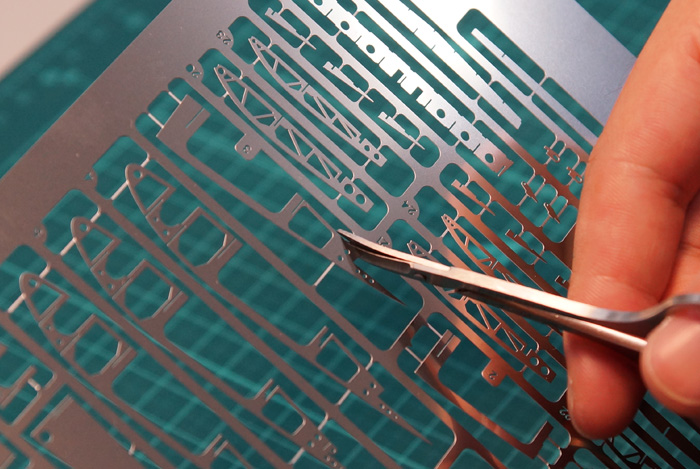 |
When removing an etched part, try to cut as close to the part as possible. | |
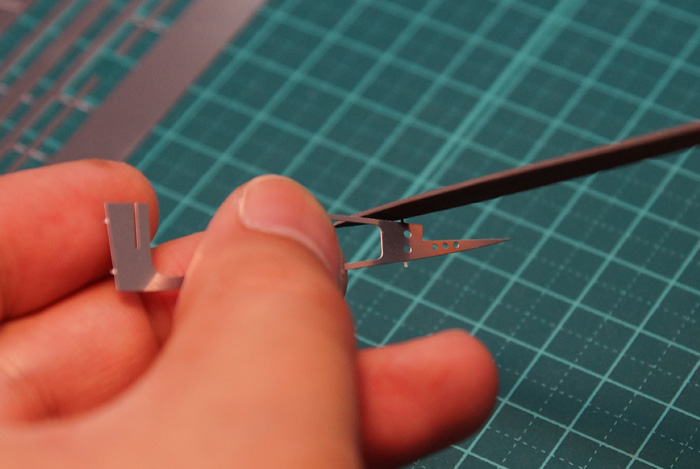 |
After you cut off a part, file off the remaining tabs. Be careful not to hurt yourself as tabs are often sharply pointed. |
|
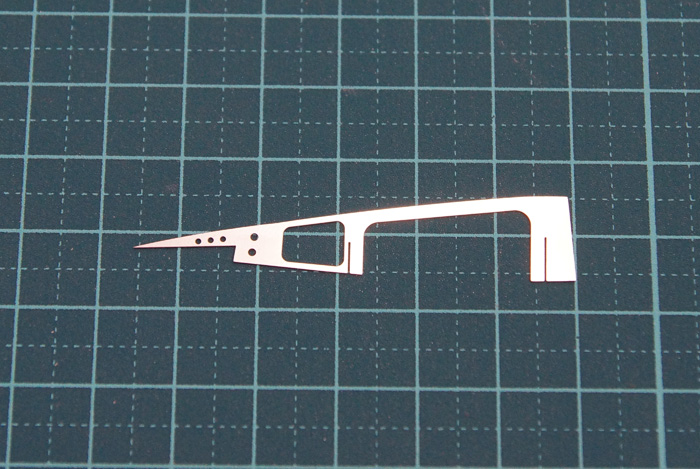 |
Once you finish filing off all tabs, the part as a whole will be one with smooth edges. |
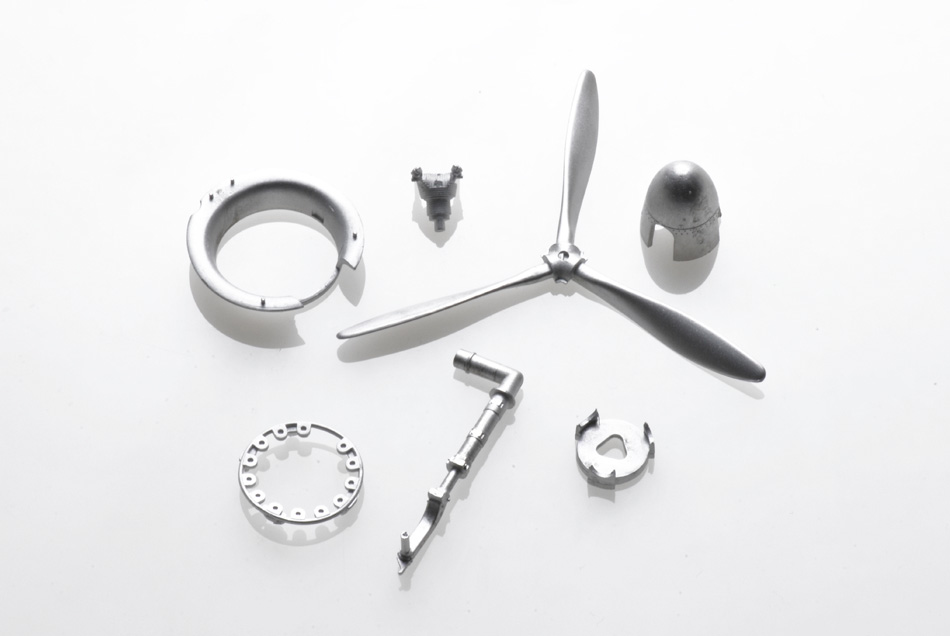
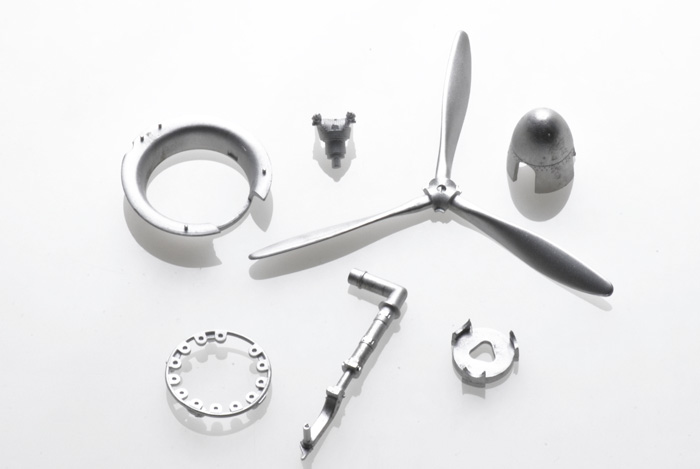
How to handle white metal parts.
White metal parts are already shaped. Cut off unwanted stubs then clean them up with a file.
 |
|
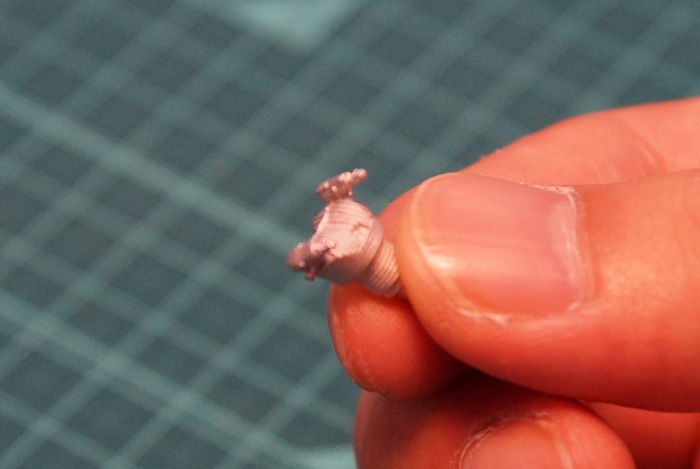 |
White metal parts may be left with unwanted stubs from production besides the main body. |
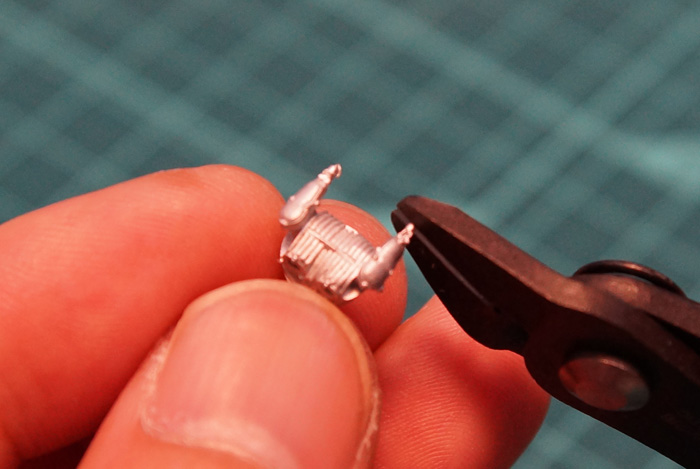 |
Cut off these stubs with cutting pliers. |
 |
File them off to finish. |
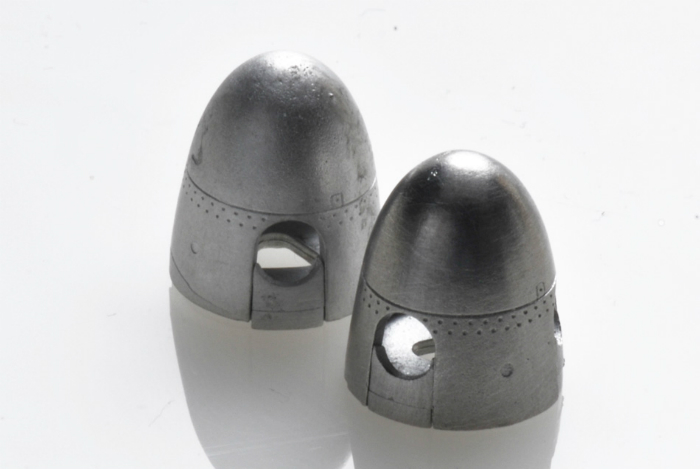 |
White metal parts take a high polish. The part in front has been polished with a wire brush and given a dull luster. |
How to glue parts.
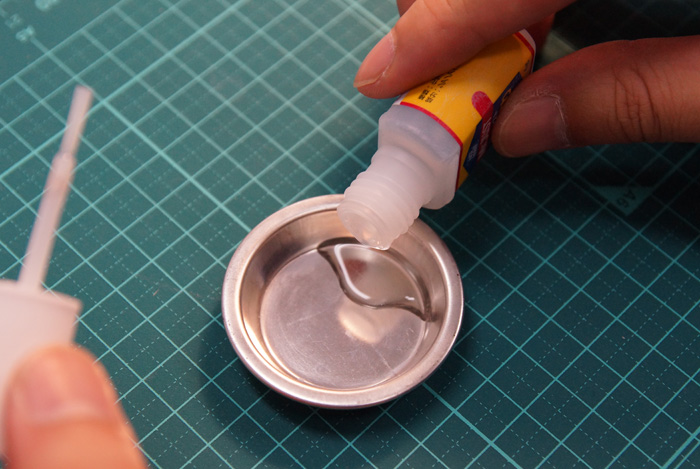 |
Put some superglue on a small plate. The superglue should be a see-through type. |
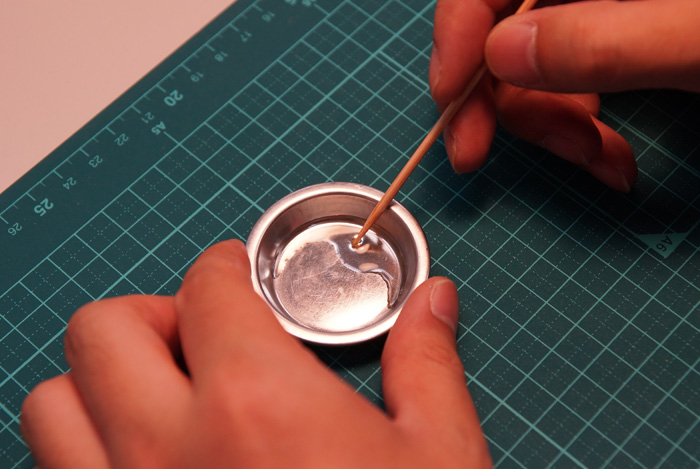 |
Put some glue on the tip of a cutter knife or a skewer. |
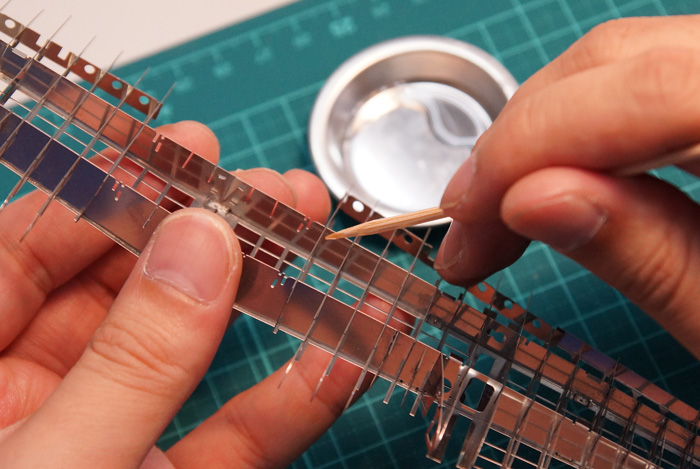 |
After you assembled the parts, use the tip of the skewer to apply glue to the areas that you want to glue together. This small amount of glue will hold the parts together firmly enough. |
How to bend parts.
You need to bend or twist some parts with needle nose pliers.
By doing this, you can achieve details without gluing small parts together.
By doing this, you can achieve details without gluing small parts together.
 |
Let’s see how a flat part becomes three-dimensional. |
 |
Hold the part with needle nose pliers as seen in the picture and twist it 90 degrees. |
 |
Repeat for the next part above. |
 |
Now you have done two. |
 |
Continue twisting. |
 |
All the parts have now been done. |
 |
Now the part has become three-dimensional. |
| Features | Place to decorate | Assembling method | The Upgraded Parts |